

If you’re a business owner, you’ve heard about the importance of email marketing. You’ve heard how high the return on investment is. You’ve also heard it’s still one of the best ways to get new prospects.
However, you may be a little unclear on how to make email newsletters. You’ll be pleased to know that with minimal investment of time and resources, you can have a professional, polished Gmail email newsletter.
Learning how to make and send newsletters in Gmail is simple and worth it. Here’s how you can get one started.
How to create and send an email newsletter in Gmail (7 steps)
Step 1: Create a group in Gmail.
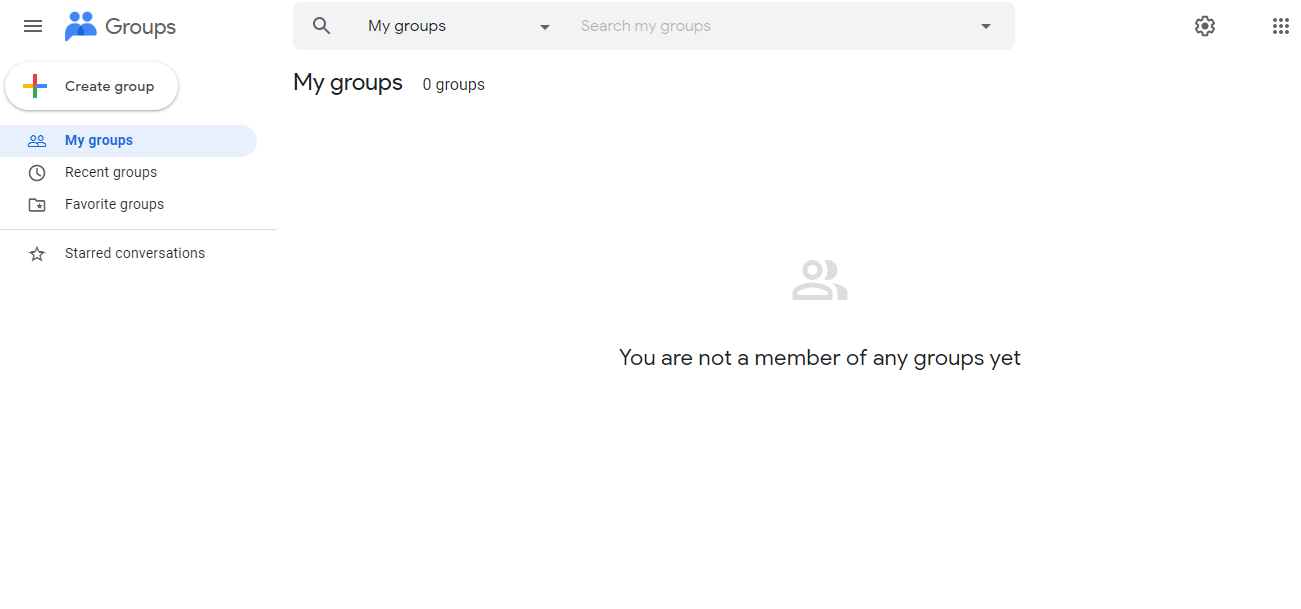
Make sure that you’re logged into your Google Account.
Once you’ve done this, go to Google Groups in your browser. Select the “Create Group” button in the top left.
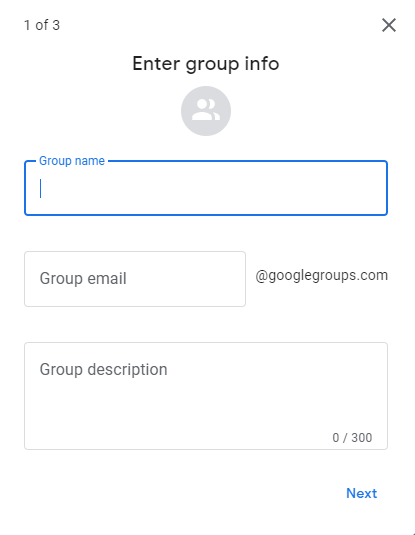
Clicking it opens a window that lets you name your new group, set up an email for it, and give it a description. Note that you need to create a unique email. Click ‘Next’ when you’re done.
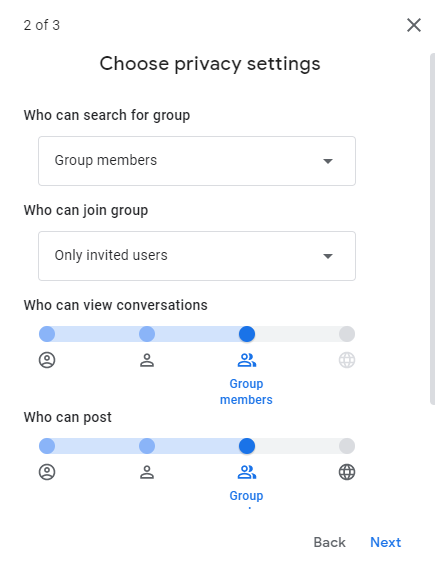
Next, you’ll be asked to choose your group’s privacy settings. Select your preferences and administrator privileges. Click ‘Next’ again.
This should bring you to a third window, where you can select the people you want on your email list and set up an invitation message. You may copy and paste from a Google Sheets contact list here.
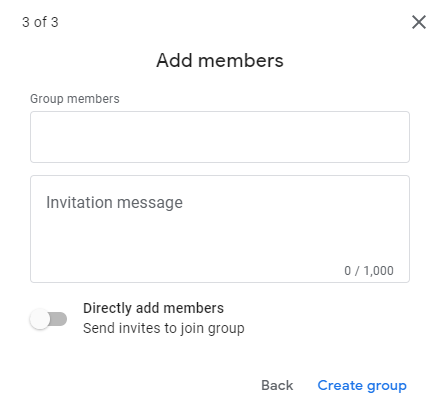
When finished, click “Create Group”.
Congratulations, you’ve just created a Google Group!
Step 2: Pick from Gmail newsletter templates in Google Docs
Open up Google Docs, which should have a Template Gallery in the top right. It’ll look something like this:
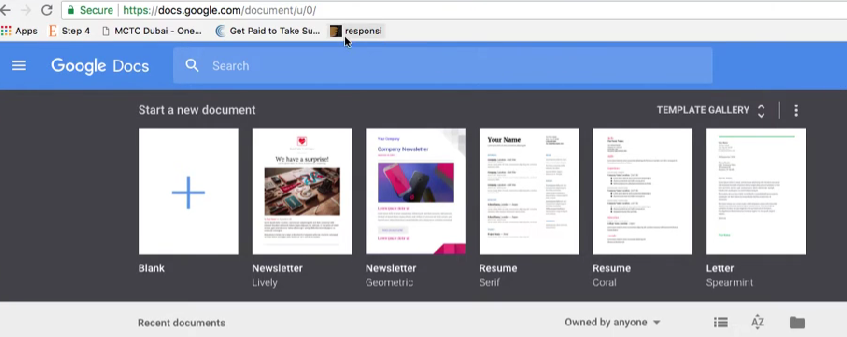
There, you’ll have a ton of options to choose from. If you don’t find something to your liking, there are many free templates online that you can use in Google Docs.
Step 3: Personalize your newsletter template for Gmail
Once you’ve selected a template, you can open it in Google Docs. Here, you’ll have the ability to edit and customize it.
Add whatever you need to make your newsletter truly shine with your company’s logo, pictures, and contact details.
Don’t forget to consider good design principles as well. Even though you’re using a template, it’s still a good idea to limit clashing colors and font styles.
It’s good not to clutter your template with copy and pictures that tire the eye. Use white space to prevent this.
Step 4: Create your email newsletter’s content
While your newsletter may look pretty, it needs more than that to keep readers coming back. The rules for great content have to be followed, too.
Here are a few to get you started.
Know your readers. You could have the best-written content fall flat if your audience isn’t considered.
Content must be something your readers value. Your newsletter can’t just be sale pitches and promotions. Recipients will soon grow tired of that, and your risk your email being consigned to the Spam folder.
Consider the purpose of your email when crafting it. That will influence your content. Do you want to boost sales? Increase brand recognition? Become an industry thought leader? Your content will be shaped by your goals.
Step 5: Copy your email newsletter over to Gmail
Once you’re done with customizing your chosen template and adding the content, it’s time to move them to Gmail.
‘Ctrl+A’ will select all of your copy and photos. ‘Ctrl+C’ will copy it.
In Gmail, click ‘Compose’. An empty email should open. Use ‘Ctrl+V’ to paste your email newsletter.
Step 6: Enter your Group email and subject line
The only thing left now is your recipient field and subject line. Remember that email address you created in Google Groups? That’s the email you’ll put in the recipient field (the ‘To’ line).
To complete your email, add a subject line related to your Gmail email newsletter that’s likely to appeal to your audience.
Step 7: Send your newsletter email
Sending newsletters with Gmail is super easy. But, don’t forget to proofread and check for errors one final time. When you’re satisfied, simply click send.
And that’s it. You now know how to make email newsletters in Gmail and send them out too but what if you can improve upon the entire process?
Make your Gmail email newsletters more effective
Of course, there are other ways of making and sending a simple email newsletter that is super effective too. One of them is to add a third-party email service to your Gmail, like YAMM.
YAMM doesn’t compete with your Gmail. It works alongside and adds several helpful features.
For instance, with YAMM, you can customize your subject line and add personal salutations for each of your recipients. The people you’re sending the newsletter to will be much more likely to open up your email if the subject is personalized to them.
You can also use YAMM as a bulk mailer to send out hundreds of emails at the same time. You’ll have the added advantage of being able to track your email’s performance.
All that’s required is your email template in Gmail, your Google Sheet with your contact list, and the YAMM add-on installed.
Learn how to import your Word template into Google Docs here
Try out YAMM to get the most out of your Gmail email newsletter
While creating an email newsletter in Gmail is easy and effective, YAMM offers many features that can make it shine!
Whether you’re creating an email newsletter for your business, school, or community, YAMM has the tools to make sure that your message gets out there.
Start using YAMM for free today. Don’t forget to ask about added user features and benefits!