Personalize links and images
Send personalized links, personalized images, and clickable images or buttons to each recipient via custom columns and Google Sheets formulas.
Send personalized links
Give each recipient a different URL — for example, a personalized product page, a pre-filled form, or a unique tracking link. Because URLs often contain special characters (spaces, accents, etc.) that can break links in emails, build your links in Google Sheets using two formulas:
- ENCODEURL encodes the variable parts of the URL (e.g.,
Awesome Table→Awesome%20Table). - HYPERLINK combines the base URL and the encoded value into a clickable link.
Apply ENCODEURL() to only the variable parts (parameter values), not the entire URL — encoding the base URL would also encode / and : and break it.
-
Create a new
Encodecolumn with=ENCODEURL(<cell to encode>).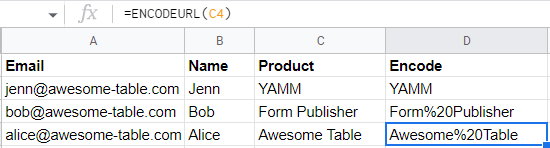
Non-alphanumeric characters are replaced with
%and a hex code. -
Create a new
Build Linkcolumn combining a fixed base URL with the encoded variable:="http://example.com/?productid=" & <cell from the Encode column>
-
Create a new
Hyperlinkcolumn using=HYPERLINK(<cell from Build Link>, "link label").
-
Insert
{{Hyperlink}}in your Gmail draft.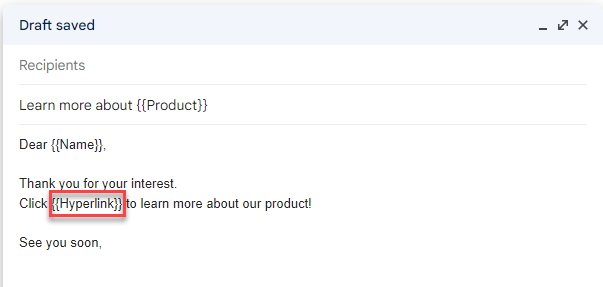
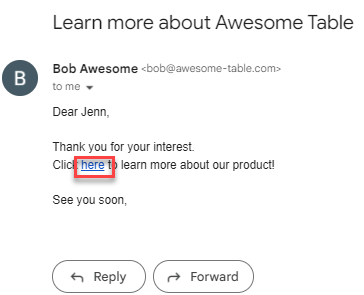
You receive an email with a personalized link, such as http://example.com/?productid=Awesome%20Table.
Send prefilled Google Form links
To send each recipient a form already filled with their data, get a prefilled link from your form and use it as the base URL in your Build Link column. This is useful for asking subscribers to verify or update information you already have.
-
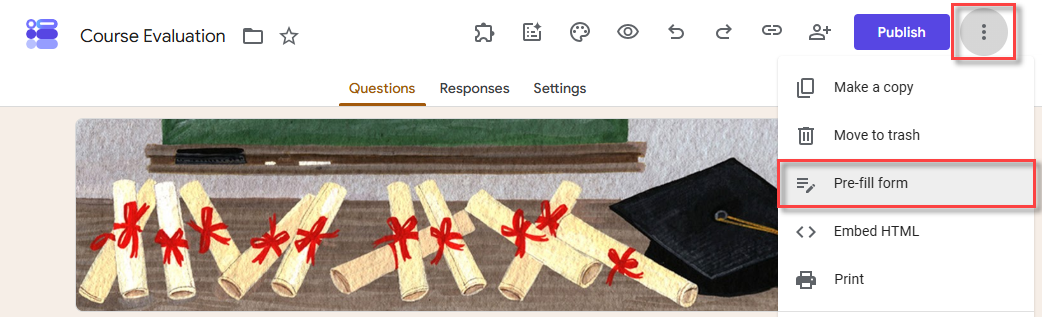
Open your Google form, then choose Pre-fill form in the three-dots menu.
-
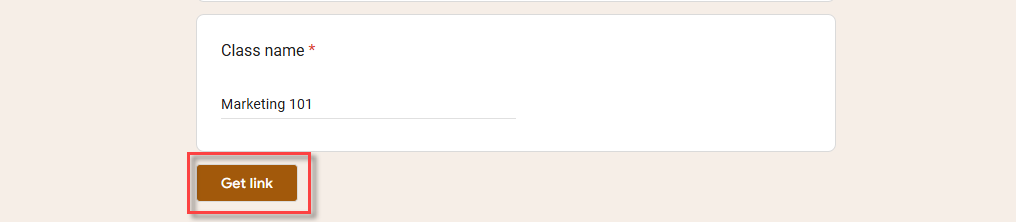
Pre-fill responses, then click Get link.
-
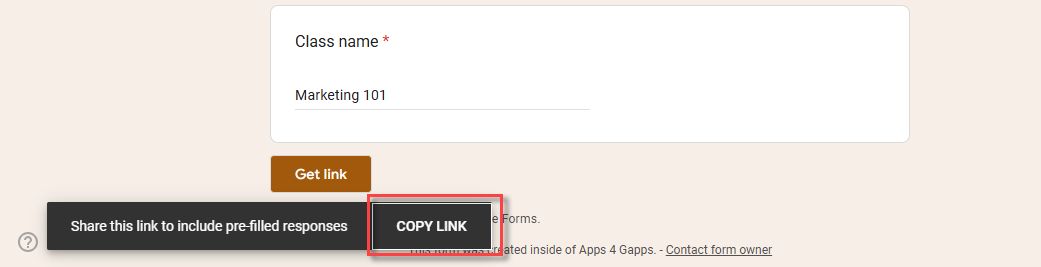
Click Copy Link.
-
In your contact list spreadsheet, create a
Form linkcolumn and paste the link for each recipient. For recipients you don't want to pre-fill, paste the plain (non-prefilled) form link instead.
-
Insert
{{Form link}}in your Gmail draft.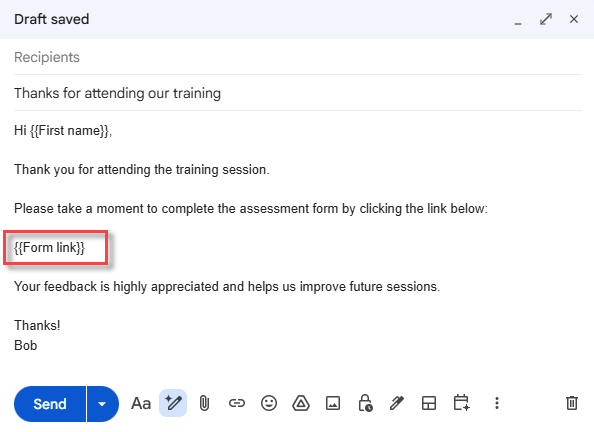
You receive an email with a link that opens the form already filled with some data.
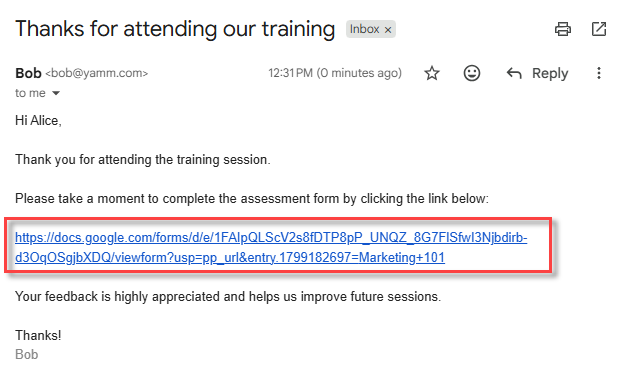
The same approach works with TypeForm or any other form tool that gives you a prefillable URL.
Send personalized images
Insert different images per row in your spreadsheet using the =IMAGE() function and reference them in your Gmail draft.
-
For each recipient row, add the image URL under a column (e.g.,
Picture URL). info
infoWe use imgur.com for image hosting in the examples. Other cloud storage works too — but avoid Google Drive or Google Photos (restrictions affect image accessibility here).
-
Add a column (e.g.,
Product Picture) using=IMAGE(D2). info
info-
To insert the image with alt text or size, combine the elements in an HTML image tag. For
<img src="..." alt="...">with the URL in D2 and alt text in E2, type:="<img src=""" & D2 & """ alt=""" & E2 & """>"
-
=IMAGE()only works with a bare cell reference — it fails if you concatenate other formulas inside it. If the image source needs to be built from multiple parts, do the concatenation in its own cell, then reference that cell:=IMAGE(E2).
-
-
Add the marker
{{Product Picture}}in your Gmail draft.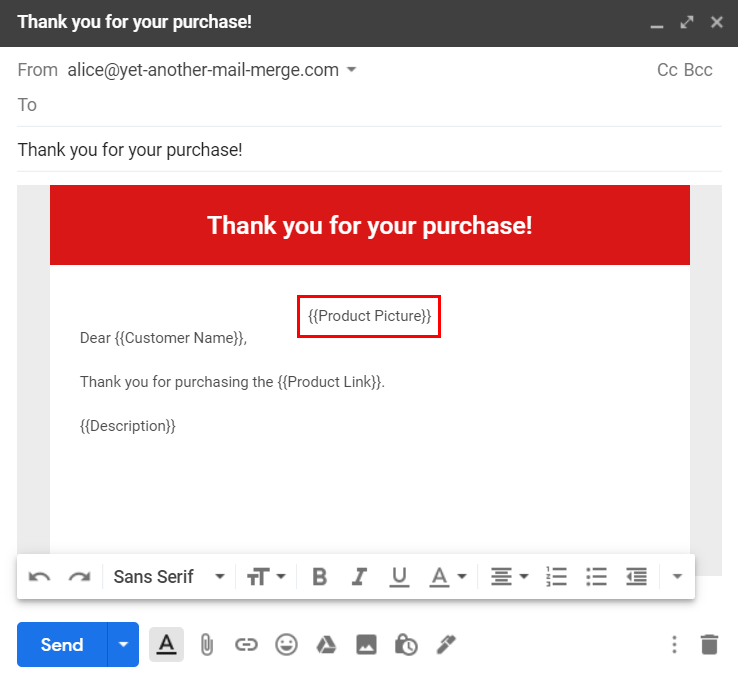
You receive an email with a personalized image.
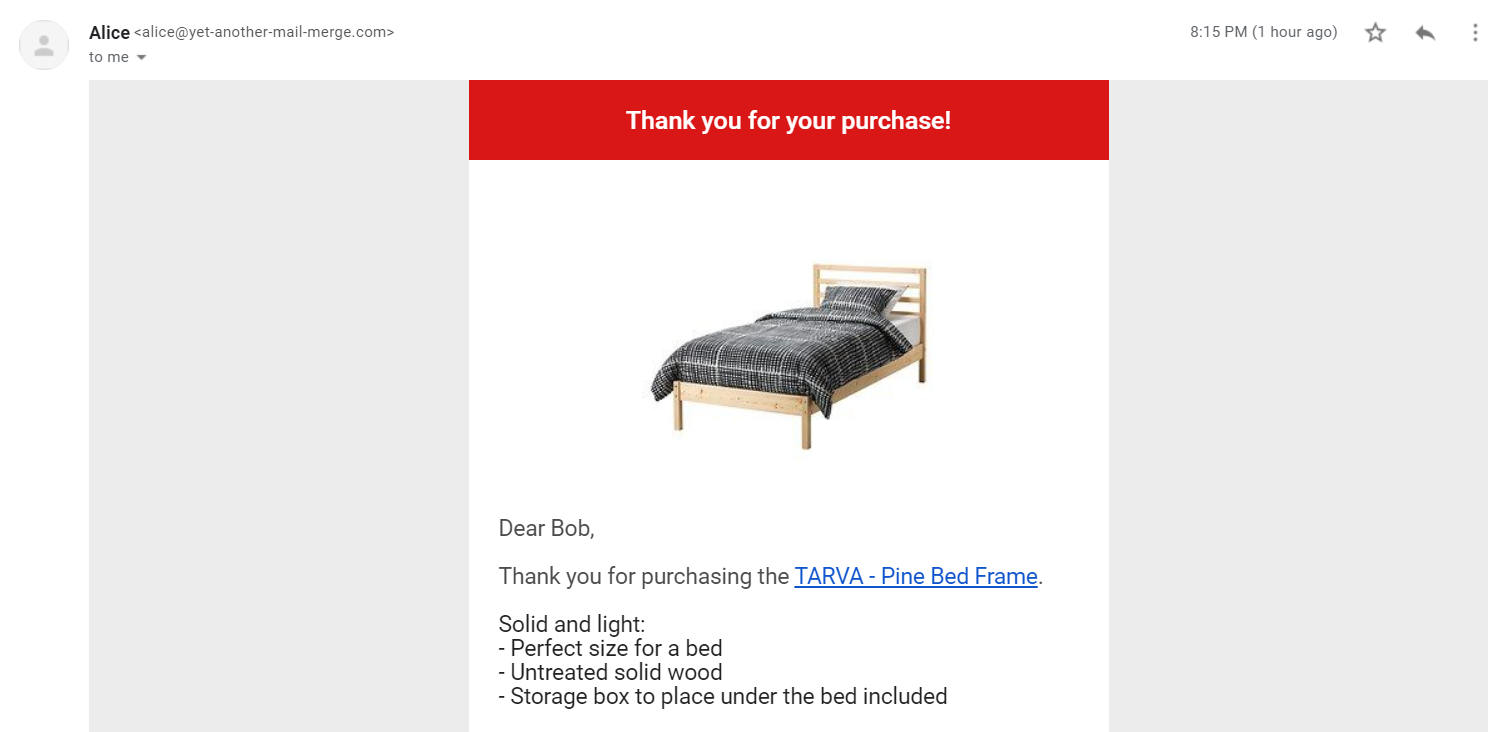
Add a clickable image / button with a specific link
Make images or buttons clickable so each recipient sees their own call-to-action.
Send the same clickable image to all recipients
-
Insert an image in your draft between two markers as shown.
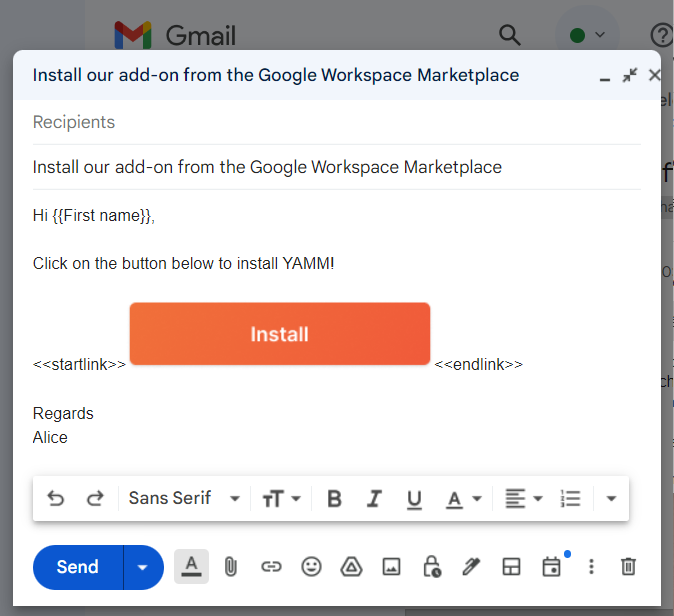
-
Add column headers matching the markers in your spreadsheet, using an HTML anchor tag.

You receive a personalized email with a clickable image.
Send a personalized clickable image to each recipient
-
For each row, add the image link under a column (e.g.,
Product picture).
-
Next to each image, add the product website link in another column (e.g.,
Product link).
-
Add a third column (e.g.,
Clickable image) combining=IMAGE()and=HYPERLINK():=HYPERLINK(D2,IMAGE(C2))
-
In your Gmail draft, reference the markers.
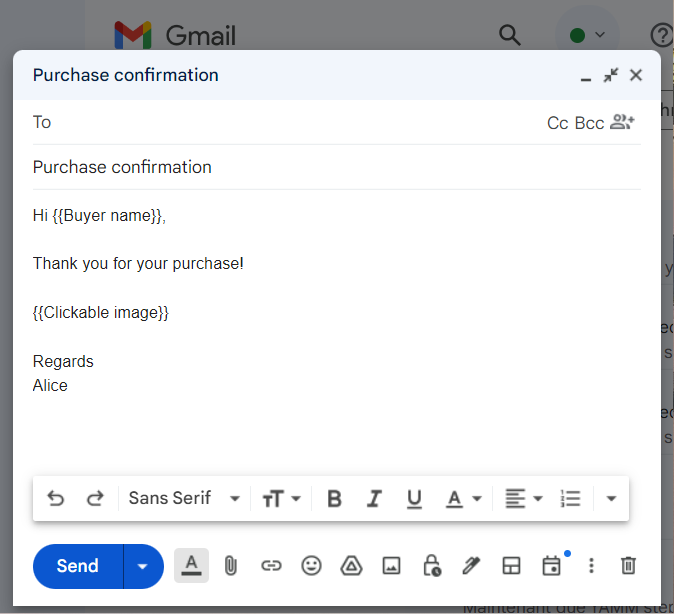
You receive an email with a personalized image, clickable directly from the email.